Draught-proofing windows: cheap, quick wins
Draught-proofing is the most cost-effective way to make a window feel warmer. It does not touch the glass at all — instead it closes the small gaps around the opening where cold air sneaks in and warm air escapes. The Energy Saving Trust rates draught-proofing as one of the best-value efficiency measures a homeowner can take, and much of it is well within reach of a confident DIYer.
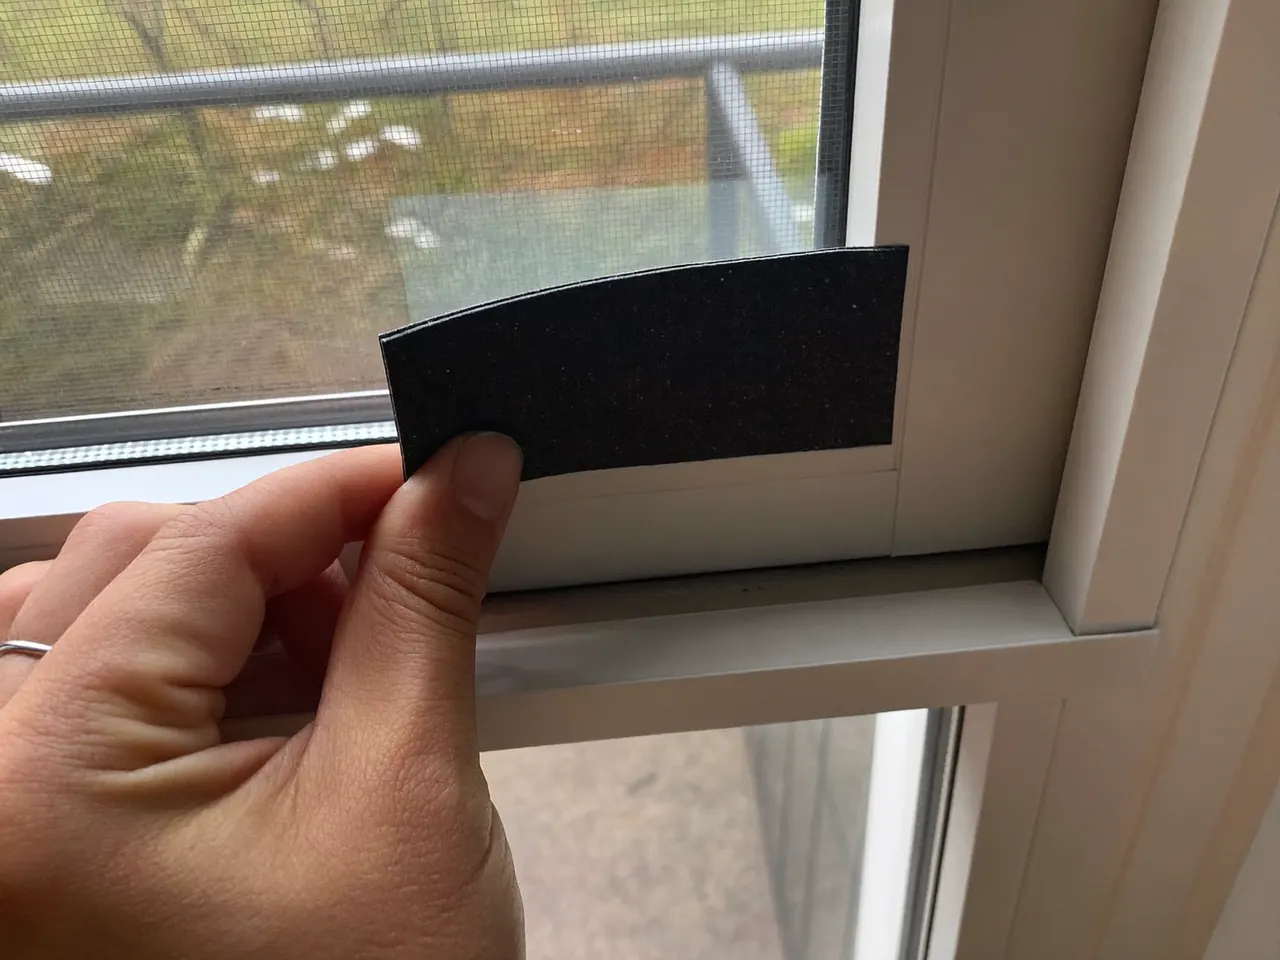
Where the draughts come from
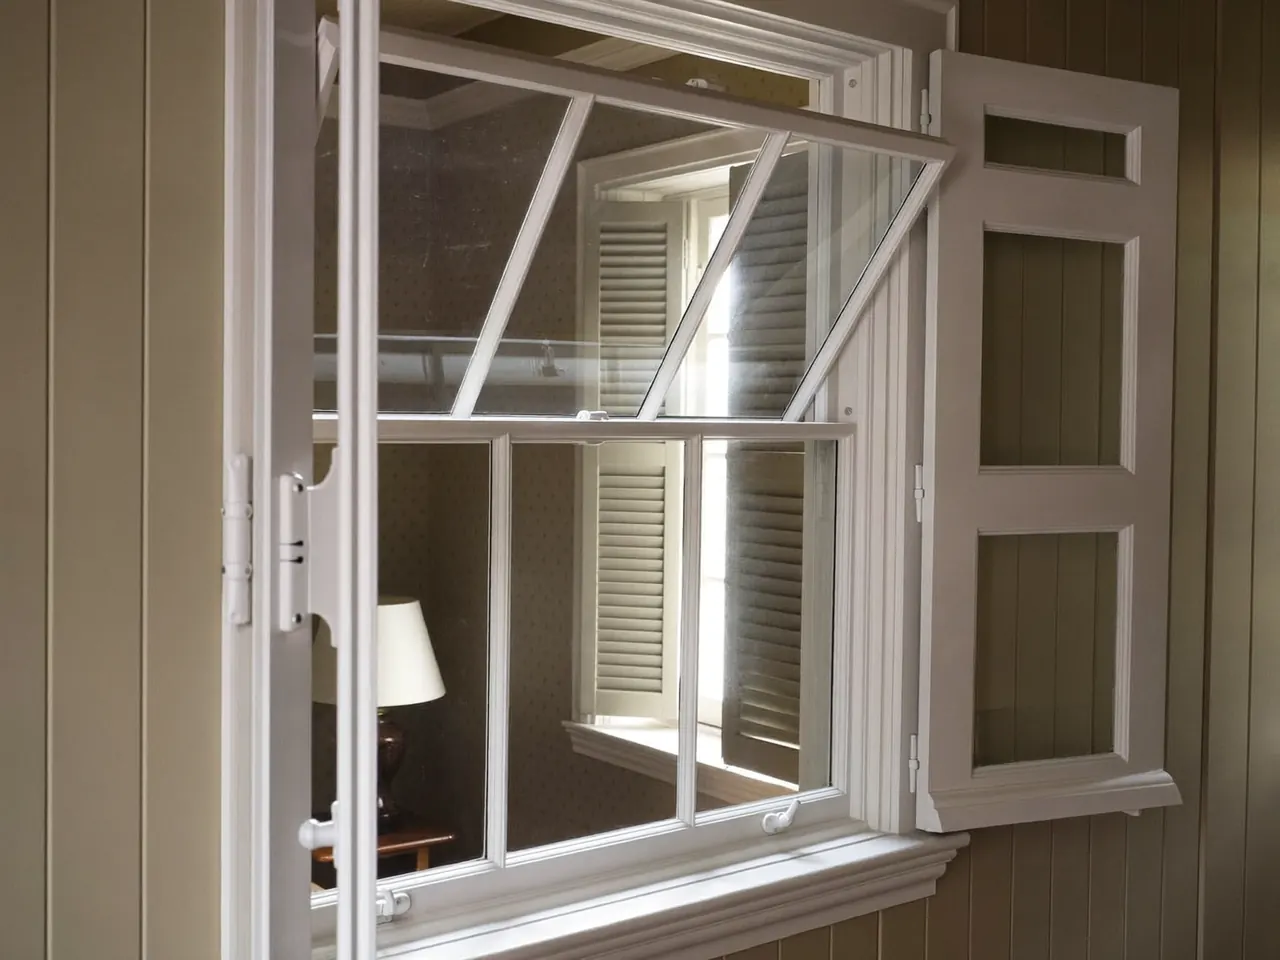
Most window draughts appear in a few predictable places: the gap between an opening sash and its frame, worn or missing seals on older units, and the junction where the frame meets the surrounding wall. On sash windows, the sliding sections and staff beads are common culprits. A quick test on a breezy day — running the back of a damp hand around the edges — usually finds them.
What to use
- Self-adhesive foam or rubber strips — quick to fit around casement seals; choose the right thickness for the gap.
- Brush seals — ideal for sliding sash windows, where a compression seal would jam the movement.
- Frame sealant — a bead of flexible sealant closes the gap between the frame and the wall.
- Heavy curtains or thermal blinds — not a seal as such, but they trap still air and cut the night-time chill.
Thinking bigger than seals?
Compare free, no-obligation quotes from vetted local installers for A-rated replacement windows.
Estimate my bill savings →Draught-proofing plus new glazing
Draught-proofing and new glazing solve different problems, which is why they work so well together. New A-rated units cut the heat that conducts through the glass, while sealing stops the air leaks around the edges. If you are replacing windows, a good installer will fit them with proper seals as standard — but for windows you are keeping a little longer, draught-proofing buys real comfort for very little money. Remember to leave any trickle vents clear so the room can still breathe.
A simple room-by-room approach
Work through the house methodically rather than dabbing sealant at random. On a cold, windy day, hold a lit candle or a strip of tissue near the edges of each window and watch for movement — it quickly reveals where the air is getting in. Mark the worst spots, then match the fix to the gap: foam or rubber strip for casement seals, brush seals for sliding sashes, and flexible sealant for the frame-to-wall junction. Measure the gap before buying strip, as too thick will stop the window closing and too thin will not seal.
Take care around any trickle vents or background ventilation. These are there on purpose to let a home breathe and to manage moisture, so sealing them up can trap humidity and encourage condensation or mould. The aim is to close the accidental gaps while leaving the deliberate ventilation working.
What it costs and what it returns
Draught-proofing is firmly in DIY territory for most casement windows, with materials costing very little, and even a professional job is modest against the price of new glazing. The Energy Saving Trust consistently ranks it among the best-value efficiency measures because the small outlay buys a genuine, immediate reduction in heat loss and a noticeable lift in comfort. It will never replace the deeper performance of A-rated glazing, but as a low-cost first step — or a companion to new windows — it is hard to beat.
Related guides
Ready to compare quotes?
Two quick questions, then matched local installers send free quotes. No obligation.
Estimate my bill savings →